

The home closing process is the final stretch of buying a house, and for many first-time buyers it is also the most confusing. After weeks of searching, negotiating, and waiting on the lender, you are suddenly asked to review dozens of pages, wire a large sum of money, and sign your name more times than you can count. Knowing what to expect turns that stressful afternoon into a manageable, even enjoyable, milestone.
This guide walks you through the home closing process in nine clear steps, from the moment your offer is accepted to the moment you receive the keys. You will learn what happens behind the scenes, which documents you will sign, how much cash you should bring, and which last-minute problems can delay a closing. Each section explains the why, not just the what, so you can ask smart questions and avoid expensive surprises.
One note before we begin. Rules differ by state, lender, and title company, so treat this article as a general roadmap rather than legal advice. Your real estate agent, loan officer, and closing agent will give you the details for your own transaction.
Table of Contents
What the home closing process actually is
The home closing process is the series of legal and financial steps that transfers ownership of a property from the seller to the buyer. It begins when both sides sign the purchase contract and ends when the deed is recorded, the seller is paid, and you officially own the home. Closing day itself is only the last piece of that longer process, usually a meeting that lasts between 30 minutes and two hours.

During the home closing process, several professionals work together. A lender verifies your finances and funds the loan. A title company or closing attorney confirms that the seller can legally sell the property. An appraiser confirms the home is worth the price. An insurance agent provides proof of coverage. Your agent coordinates the pieces and keeps everyone on schedule.
Think of closing as a finish line where three things must happen at once. The property title must be clear, the money must be in the right place, and every required document must be signed. If any one of those is missing, the home closing process pauses until it is fixed.
A realistic home closing process timeline
Most purchases that involve a mortgage take about 30 to 45 days from accepted offer to closing, although some close faster and some take longer. Cash purchases can close in as little as one to two weeks because there is no lender underwriting. The timeline below shows how the home closing process usually unfolds for a financed purchase.
| Timing | What happens | Who handles it |
|---|---|---|
| Day 1 | Contract signed, earnest money deposited | Buyer and agent |
| Days 1 to 3 | Loan Estimate confirmed, title and escrow opened | Lender, title company |
| Days 3 to 14 | Home inspection and repair negotiation | Buyer, inspector, agents |
| Days 7 to 21 | Appraisal ordered and completed | Lender, appraiser |
| Days 14 to 35 | Underwriting and conditions | Underwriter, buyer |
| At least 3 business days before closing | Closing Disclosure delivered | Lender |
| Within 24 hours of closing | Final walkthrough | Buyer and agent |
| Closing day | Signing, funding, recording, keys | Everyone |
Treat these windows as estimates. A slow appraisal or a missing document can stretch the home closing process by a week or more, so avoid scheduling your move-out date too tightly.
Step 1: Open escrow and order the title search
The first step in the home closing process happens within days of your accepted offer. Your agent sends the signed contract to a title company, an escrow company, or a real estate attorney, depending on where you live. In some states an escrow officer manages the transaction, while in others an attorney conducts the closing. Your agent will tell you which system applies locally.
You will usually deposit earnest money at this point, often between one and three percent of the purchase price, though the amount varies by market. The deposit shows the seller that you are serious, and it is held by a neutral third party. At closing, it is credited toward your down payment or closing costs, so it is not an extra expense.
Once escrow is open, the title company researches the property’s history. This title search looks for liens, unpaid taxes, judgments, boundary disputes, and ownership gaps that could threaten your claim. Most problems are minor and get cleared before closing. Rarely, a serious defect appears, and that is exactly why this early step in the home closing process matters.
Title insurance: the policy you buy once
Title insurance protects against ownership problems that were hidden when you bought the home, such as a forged signature in an old deed or an unknown heir with a legal claim. Unlike most insurance, you pay one premium at closing, and the coverage lasts as long as you or your heirs own the property.
There are two policies in the home closing process. A lender’s policy protects the mortgage company, and nearly every lender requires it. An owner’s policy protects you, and while it is technically optional in most states, it is widely recommended because it covers your actual investment. Ask your agent who customarily pays for each policy in your area, since local custom varies and the cost is negotiable in some markets.
Shopping around can save money. Title insurance rates are regulated in some states and competitive in others, so request a few quotes if your state allows you to choose the title company. The guide to closing costs and how much to budget explains how title fees fit into your total.
Step 2: Inspection, appraisal, and repair negotiations
While the title company works, you schedule a home inspection. A licensed inspector examines the roof, foundation, plumbing, electrical system, heating and cooling, and other major components. The report becomes a negotiating tool. You can ask the seller to make repairs, offer a credit, lower the price, or, in serious cases, walk away under your inspection contingency. If you are tempted to skip it, read why you should never skip a home inspection first.
At the same time, your lender orders an appraisal. The appraiser compares the home with recent nearby sales to estimate its market value. The lender will not lend more than the home is worth, so a low appraisal can derail the home closing process unless the parties adjust. When an appraisal comes in below the price, buyers can renegotiate the price, bring extra cash to cover the gap, request a second review, or cancel if their contract allows.
Keep your deadlines in mind. Contingencies in your contract, including the inspection, appraisal, and financing windows, expire on specific dates. Missing one can mean losing your right to cancel, and sometimes your earnest money, so confirm each date with your agent early in the home closing process.
Step 3: Underwriting and the “clear to close”
Underwriting is the lender’s final review of your loan. An underwriter checks your income, assets, debts, credit, the appraisal, and the title work to decide whether the loan meets guidelines. You may have been pre-approved earlier, but approval is not final until underwriting finishes. If you have not yet been through that stage, how to get pre-approved for a mortgage explains what lenders look at first.
Expect requests for more paperwork. Underwriters commonly ask for recent pay stubs, bank statements, a written explanation for large deposits, proof of homeowner’s insurance, and verification of your employment shortly before closing. Respond quickly, because slow replies are one of the most common reasons the home closing process runs late.
When every condition is satisfied, the lender issues a “clear to close.” That phrase means the loan is approved and the lender is ready to prepare final documents. Once you have it, the home closing process moves quickly: the closing date is confirmed, documents are drafted, and the final numbers are calculated.
Do not change your finances before closing
Between pre-approval and closing, your finances are effectively frozen. Lenders often recheck your credit and employment right before funding, and any change can alter the decision. Avoid these moves until you hold the keys:
- Opening new credit cards or taking out a car loan, which changes your debt-to-income ratio.
- Making large purchases on credit, such as furniture for the new house.
- Changing jobs or going from salary to self-employment without talking to your loan officer.
- Moving money between accounts or making large unexplained deposits.
- Co-signing a loan for a friend or relative.
Waiting a few weeks to buy a couch is a small price compared with a denied loan late in the home closing process.
Step 4: Review the Closing Disclosure
At least three business days before closing, your lender must deliver a Closing Disclosure. This five-page form lays out your final loan terms, monthly payment, projected costs, and the exact cash you must bring. It is the most important document of the home closing process to read carefully, because it is the last chance to catch mistakes before you sign.
Compare it line by line with the Loan Estimate you received at the start. Interest rate, loan amount, and loan type should match what you were promised. Fees can change within limits, but large jumps deserve questions. If a figure looks wrong, call your loan officer immediately rather than waiting until the closing table, since corrections take time.
The three-day waiting period exists so you are not rushed. Certain changes, such as a significantly higher annual percentage rate, a different loan product, or the addition of a prepayment penalty, require a new disclosure and restart the clock. Minor corrections usually do not. The Consumer Financial Protection Bureau explains these rules and offers sample forms in its Owning a Home resource center.
What to check on the Closing Disclosure
Use this short checklist when you review the form during the home closing process:
- Loan terms: amount, interest rate, loan term, and whether the rate is fixed or adjustable.
- Monthly payment: principal, interest, mortgage insurance, and the escrow amounts for taxes and insurance.
- Closing costs: lender fees, title fees, recording fees, and prepaid items.
- Cash to close: the total you must bring, after your earnest money and any credits.
- Names and addresses: every spelling must match your legal documents exactly.
If you are using a mortgage with less than twenty percent down, look for the line for private mortgage insurance. The article on what private mortgage insurance is and how to remove it explains how this cost works and when it can end.
Closing costs in the home closing process
Closing costs are the fees paid to complete the transaction, and they are separate from your down payment. Buyers commonly pay roughly two to five percent of the purchase price, depending on location, loan type, and what the seller agrees to cover. On a $350,000 home, that range is about $7,000 to $17,500, which is why budgeting early matters so much in the home closing process.
The table below shows typical categories. Exact items and amounts depend on your state and lender.
| Cost | What it pays for | Typical payer |
|---|---|---|
| Lender origination fees | Processing and underwriting the loan | Buyer |
| Appraisal fee | Valuation of the property | Buyer |
| Title search and insurance | Research and ownership protection | Varies by state |
| Escrow or attorney fees | Managing the closing | Split or buyer |
| Recording fees | Filing the deed with the county | Buyer |
| Prepaid taxes and insurance | Initial escrow deposits | Buyer |
| Transfer taxes | State or local tax on the sale | Varies by state |
| Real estate commissions | Agent compensation | Seller, per the contract |
You can lower these costs by comparing lenders, asking for seller credits, and negotiating fees that are not fixed by law. A full breakdown lives in the guide to closing costs and how much to budget, and if you are still building your savings, how to save for a down payment on a house shows how to plan for both numbers at once.
Prorations and prepaid items
Two terms confuse many buyers at this stage. Prorations divide ongoing expenses, such as property taxes or homeowners association dues, between buyer and seller based on the closing date. If the seller already paid taxes for a period after closing, you reimburse them for that portion. Prepaid items, on the other hand, are costs you pay in advance, such as the first year of homeowner’s insurance and a few months of tax and insurance reserves for your escrow account.
These amounts explain why cash needed for the home closing process is often higher than first-time buyers expect. Ask your loan officer to show each prepaid item so you understand where every dollar goes.
Step 5: Complete the final walkthrough
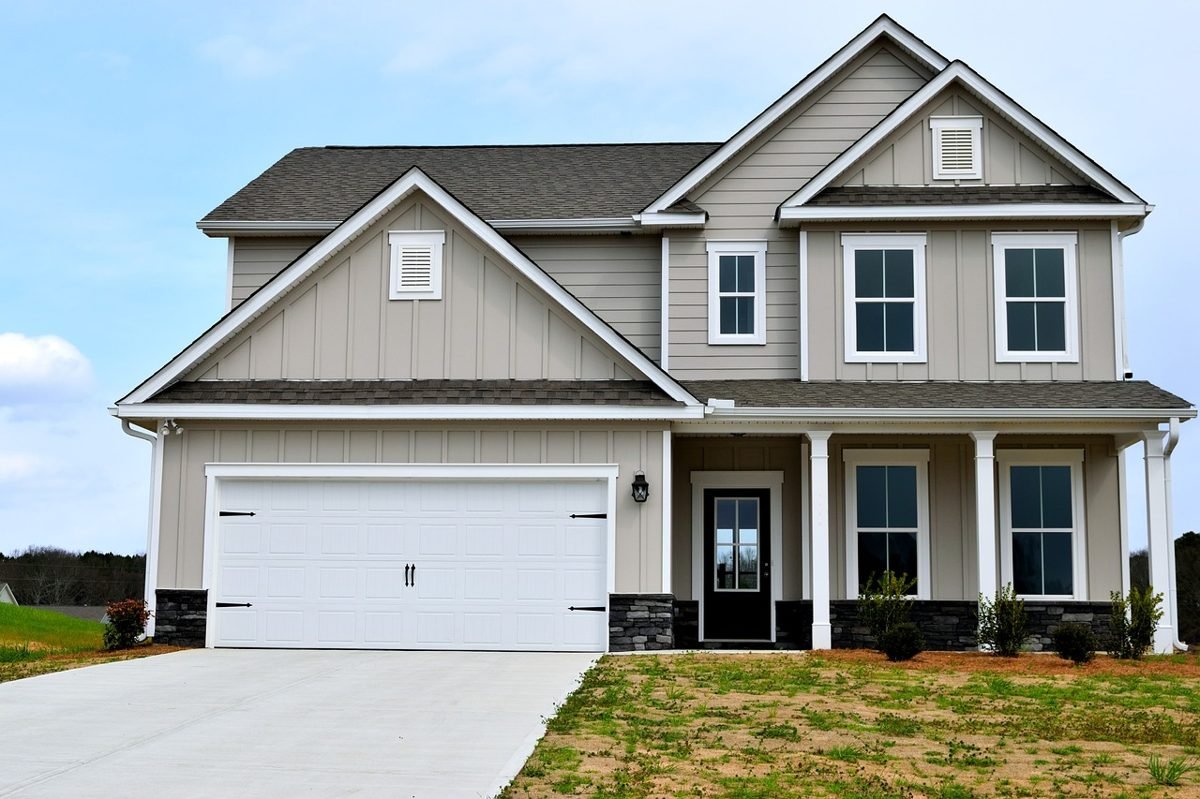
The final walkthrough happens within about 24 hours before closing, and sometimes earlier in the day. It is your last opportunity to confirm that the home is in the condition the contract promised. This step of the home closing process is not a second inspection. Its purpose is to verify that agreed repairs were finished, nothing was damaged since your inspection, and the items that were supposed to stay are still there.
Bring a copy of your inspection report and repair agreement, along with a phone to take photos. Walk through every room and test what you can:
- Run the faucets and flush the toilets, checking for leaks under sinks.
- Turn on the heating and cooling, the stove, the oven, and the dishwasher.
- Open and close windows and doors, and test the garage door opener.
- Look for new damage, leftover belongings, or items that should have been included, such as light fixtures.
- Confirm that the seller has moved out and that the property is clean.
If something is wrong, tell your agent right away, before you sign anything. Depending on the issue, the seller may complete repairs, offer a credit, or place funds in escrow to cover them. Raising a problem during the walkthrough keeps your leverage, which largely disappears after closing.
Step 6: Move your cash to close safely
The cash to close figure on your Closing Disclosure is the amount you must deliver before the home closing process can finish. Title companies typically accept a wire transfer or a cashier’s check, and personal checks are often refused. Ask in advance exactly how much to send and in which form, and plan the transfer a day or two before closing so a bank delay cannot hold things up.
Wire fraud is the most serious risk in the home closing process. Criminals hack email accounts, impersonate title companies, and send fake wiring instructions that look legitimate. Buyers have lost entire down payments this way, and recovering wired money is difficult. Protect yourself with these habits:
- Verify wiring instructions by calling the title company at a phone number you found independently, never one listed in the email.
- Be suspicious of last-minute changes to account numbers or payment instructions.
- Avoid sending sensitive documents or account details through unsecured email.
- Confirm receipt of the wire with the closing agent after sending it.
The Federal Trade Commission publishes current scam alerts and prevention tips at consumer.ftc.gov, and it is worth a quick read before you send the biggest wire of your life.
Homeowner’s insurance and utilities
Your lender will not fund the loan until you can prove coverage. Choose a homeowner’s insurance policy early in the home closing process, compare quotes from several insurers, and send the declarations page to your lender. The first year’s premium is generally paid at or before closing. If the home sits in a flood zone, you may also need a separate flood policy, which can take extra time to arrange.
Utilities are easy to forget. Schedule electricity, gas, water, trash, internet, and any other service to start on your closing date or move-in date, and ask the seller to stop theirs after the transfer. Doing this a week ahead prevents a cold, dark first night in your new home.
Step 7: Know who is at the closing table
Closing day usually brings a small group together, although the home closing process increasingly allows people to sign separately or remotely. Understanding each role helps you direct questions to the right person.
The closing agent, who may be an escrow officer, title agent, or attorney, runs the meeting. They explain each document, collect signatures, verify identification, and handle the money. You and any co-borrowers must attend unless someone is using a power of attorney, which requires extra paperwork. Your real estate agent often attends to support you, and the seller’s agent may be present as well. In many places, the seller signs earlier or separately and does not meet the buyer at all.
Your loan officer typically does not attend, but they should be reachable by phone. If an unexpected number or term appears, you can pause the signing and call them. Nobody should pressure you to sign something you do not understand during the home closing process, and you may ask to review a document first or to consult an attorney.
What to bring on closing day
A short preparation list saves time. Confirm the details with your closing agent, because requirements vary, but most buyers need the following for the home closing process:
- A valid government-issued photo ID for every person signing.
- Your cashier’s check or confirmation that your wire arrived.
- Proof of homeowner’s insurance, if the lender has not already received it.
- A copy of your Closing Disclosure with any notes or questions.
- Your contact information for utilities, movers, and your new mailing address.
Leave extra time in your schedule. Even a smooth home closing process can run long when there are many signatures, and you do not want to rush through legal documents because of a work meeting.
The documents you sign during the home closing process
The stack of paper looks intimidating, but only a handful of documents carry the heavy legal weight. Here is what the main ones do.
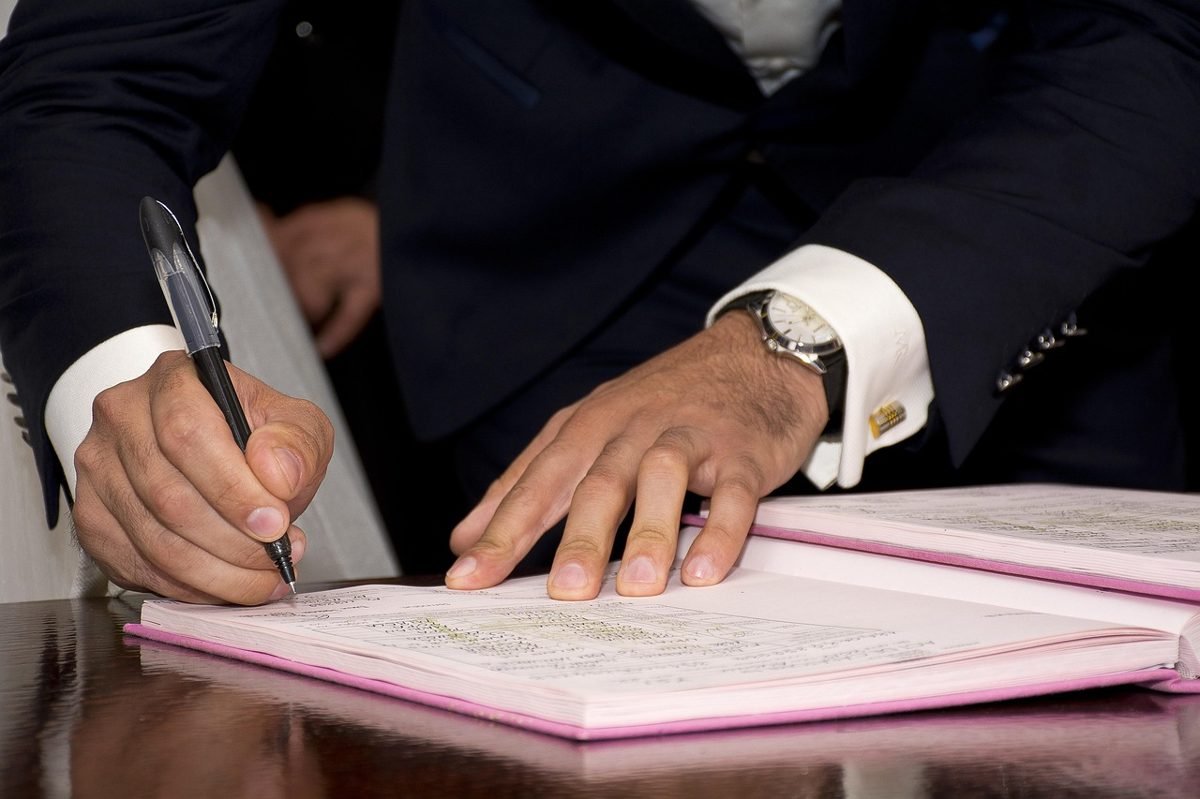
The promissory note is your written promise to repay the loan. It lists the amount, interest rate, payment schedule, and consequences of late payments. The mortgage or deed of trust, depending on your state, secures the loan with the property, giving the lender the right to foreclose if you stop paying. The Closing Disclosure confirms the final numbers, and you sign it to acknowledge them. The deed, which the seller signs, transfers ownership to you.
You will also sign a series of smaller forms. These include affidavits about your occupancy and identity, escrow account authorizations, compliance agreements allowing the lender to fix clerical errors, and tax forms. The seller signs a settlement statement and the paperwork releasing their claims. Ask the closing agent to explain anything unfamiliar, and request copies of the complete signed package at the end of the home closing process.
Unlike a refinance, a home purchase does not include a right of rescission, which is the three-day cooling-off window some borrowers get on certain refinances. Once you sign and the deal funds, the purchase is final, which is another reason to review everything beforehand.
Closing day, hour by hour
Here is what a typical closing appointment looks like, so nothing about the home closing process catches you off guard.
You arrive, present your identification, and meet the closing agent. They confirm the property address, names, and loan details, then walk you through each document. You review, ask questions, and sign where flagged. You hand over any remaining funds, or the agent confirms the wire has arrived. Everything signed is sent to the lender for a final review, and once approved, the lender releases the loan money, which is called funding.
The deed is then recorded with the county recorder or land records office, which makes your ownership part of the public record. In many states, recording and funding happen the same day, but in some it takes a few hours or until the next business day. You usually receive the keys once the agent confirms funding and recording, or at the time specified in your contract.
Remote and hybrid closings have become common. In many states you can sign electronically with a notary joining by video, or a mobile notary can meet you at home. Ask early whether your lender, title company, and state allow it, because it can save a long drive during the home closing process.
The seller’s side of the home closing process
Understanding the seller’s role helps you anticipate delays. The seller must provide a clear title, complete agreed repairs, and move out by the possession date. At the table, their proceeds are calculated by subtracting the mortgage payoff, real estate commissions, any agreed credits, prorated taxes, and applicable fees from the sale price.
Because the seller’s mortgage must be paid off before they receive anything, a late payoff statement can slow the home closing process. Similarly, if the seller owes back taxes or has a lien, those items must be resolved before the deed can be recorded. Good communication between agents prevents most of these problems.
After the home closing process: your first week as an owner
Closing is the beginning of homeownership, not the end of your to-do list. Right after the home closing process, take care of these tasks:

- Change the locks, garage codes, and any smart-home passwords, since former owners and contractors may still have access.
- Store your closing documents in a secure place and scan copies, because you will need them for taxes and future sales.
- Set up automatic payments for your mortgage, but keep a buffer in your checking account.
- File your change of address with the post office and update banks, employers, and insurers.
- Locate the water shutoff, electrical panel, and furnace filter so you can respond to emergencies.
Expect your first mortgage payment about a month or more after closing, not immediately. Your servicer will mail instructions, and some loans are transferred to a different servicer shortly afterward. If you want to understand the loan you now carry, read whether to refinance your mortgage later, once you have a few months of ownership behind you.
Common delays in the home closing process
Even well-organized deals hit snags. Knowing the usual culprits lets you prevent many of them. Low appraisals, slow responses to underwriting requests, title defects, and changes in your credit or employment account for a large share of delays. Others include missing homeowner’s insurance, unsigned seller documents, repair disputes, and wire problems.
Interest rate locks add pressure. A rate lock guarantees your rate for a set number of days, commonly 30, 45, or 60. If the home closing process runs past the lock, you may pay an extension fee or face a new rate. Ask your lender how long your lock lasts and what an extension costs, and choose a lock period that includes some cushion.
Another frequent issue is the contract’s closing date. If you or the seller cannot meet it, the parties must sign an addendum extending the deadline. Do not assume a verbal agreement is enough. A delay without written approval can put your earnest money at risk, so keep your agent involved at every step.
Mistakes buyers make during the home closing process
Most closing problems are preventable. These are the errors that cost buyers the most money and stress:
- Waiting until the last day to read the Closing Disclosure, leaving no time to fix errors.
- Skipping the final walkthrough because the schedule feels tight.
- Sending cash to close without verifying wiring instructions by phone.
- Making a large purchase or opening new credit before the loan funds.
- Forgetting to budget for prepaid taxes, insurance, and moving costs.
- Assuming the agent or lender will catch every mistake, instead of reviewing documents yourself.
First-time buyers face additional pitfalls. The article on first-time home buyer mistakes that cost thousands covers the errors that appear long before closing, and the first-time home buyer guide places the home closing process in the context of the entire purchase.
How the earlier steps shape your closing
A smooth home closing process begins long before the closing table. Buyers who know their budget, keep their credit stable, and make clean offers tend to have fewer surprises. Use how much house you can actually afford to set a price range you can sustain, and read how to make a competitive offer on a house to understand which contract terms affect your timeline, such as contingencies, the closing date, and earnest money.
Short contingency periods may strengthen an offer, but they also compress the home closing process and reduce your time to handle inspection or financing problems. Balance competitiveness with realistic deadlines. A winning offer that you cannot close on is worth less than a slightly weaker offer that you can complete comfortably.
Home closing process checklist
Use this condensed checklist to track your progress. Print it or save it on your phone, and check items off as you go through the home closing process.
| When | Task |
|---|---|
| After offer accepted | Deposit earnest money, open escrow, schedule the inspection |
| Week 1 to 2 | Choose homeowner’s insurance, review the inspection and negotiate repairs |
| Week 2 to 4 | Respond to underwriting requests quickly, avoid new credit |
| One week before | Confirm cash to close, wire instructions, and utilities |
| 3 business days before | Review the Closing Disclosure and ask questions |
| Day before | Complete the final walkthrough and send funds |
| Closing day | Bring ID, sign documents, confirm funding, collect keys |
| First week | Change locks, store documents, update your address |
Frequently asked questions about the home closing process
How long does the home closing process take?
A financed purchase typically takes 30 to 45 days from accepted offer to closing. Cash deals can finish in one to two weeks, while complex transactions can take longer.
How much money do I need to bring to closing?
You need your down payment plus closing costs, minus your earnest money and any credits. Your Closing Disclosure states the exact cash to close, and buyers commonly pay two to five percent of the price in closing costs.
Can I back out during the home closing process?
You can cancel without penalty only under the contingencies in your contract, such as inspection, appraisal, or financing, and only within their deadlines. After that, backing out may cost you your earnest money.
Do I need a lawyer?
Some states require an attorney to handle closings, while others use title or escrow companies. Even where it is optional, a real estate attorney can review documents if your situation is complicated.
What happens if the seller does not move out?
The contract should specify the possession date. If the seller is still there at the final walkthrough, tell your agent immediately so the problem is resolved or funds are held in escrow before you sign.
Can the lender change my loan at the last minute?
Terms can change only within limits. Major changes require a new Closing Disclosure and a new waiting period. Review your documents carefully so you notice anything that differs from your earlier estimates.
Final thoughts on the home closing process
The home closing process feels complicated because it combines legal, financial, and logistical tasks, yet each step has a clear purpose. Open escrow, protect your title, inspect the home, clear underwriting, read the Closing Disclosure, walk through the property, move your money safely, and sign with confidence. Do those things in order and the home closing process becomes a checklist instead of a mystery.
Stay organized, respond quickly to requests, and keep asking questions until every number makes sense. Once the keys are in your hand, you will have completed one of the biggest financial milestones of your life, and the home closing process will be behind you. For a broader view of the journey, read the first-time home buyer guide and plan your next steps.
Disclaimer: This article is for informational purposes only and does not constitute legal or financial advice. Closing procedures and requirements vary by state and lender.
Keep reading

Cash Out Refinance: 7 Smart, Essential Facts to Know
Cash out refinance explained: how it works, LTV limits for conventional, FHA and VA loans, closing costs, taxes, and a worked $450,000 example.
Read the guide →
Private Mortgage Insurance: 8 Smart, Proven Money Facts
Private mortgage insurance explained: see what it costs on a $400,000 home, how long you pay, and proven ways to cancel it or avoid it entirely.
Read the guide →
Fixed vs Adjustable Rate Mortgage: 5 Smart, Proven Steps
Fixed vs adjustable rate mortgage explained with real math on a $300,000 loan. Learn the caps, the break-even point and a 5-step way to choose.
Read the guide →Keep going: see the full Home Buying Roadmap: From Saving to Closing Day for every guide on Home Buying in a suggested order.